On this page
How to write a lesson plan, in short: decide what students should be able to do by the end of the period, check what they already know, choose the teaching aids, plan how you will introduce, present and practise the topic, and decide how you will check learning before the bell. The B.Ed lesson plan format puts those decisions into a fixed set of headings so that a supervisor, or you a week later, can follow the lesson at a glance.
This guide explains each heading of the standard B.Ed format, shows a complete filled-in example, and lists the mistakes that cost student teachers marks in practice teaching.
Key takeaways
- Start with objectives written as observable actions (“students will be able to label…”), not as topics.
- Previous knowledge and introductory questions connect the new topic to what students already know.
- The presentation section is usually a table: teacher activity, student activity and blackboard work side by side.
- Every objective needs a matching question in the evaluation section.
- A good plan fits the period. Time each stage before you teach it.
The B.Ed lesson plan format: the headings
Universities differ slightly, so always check your college’s prescribed format first. Most follow this order:
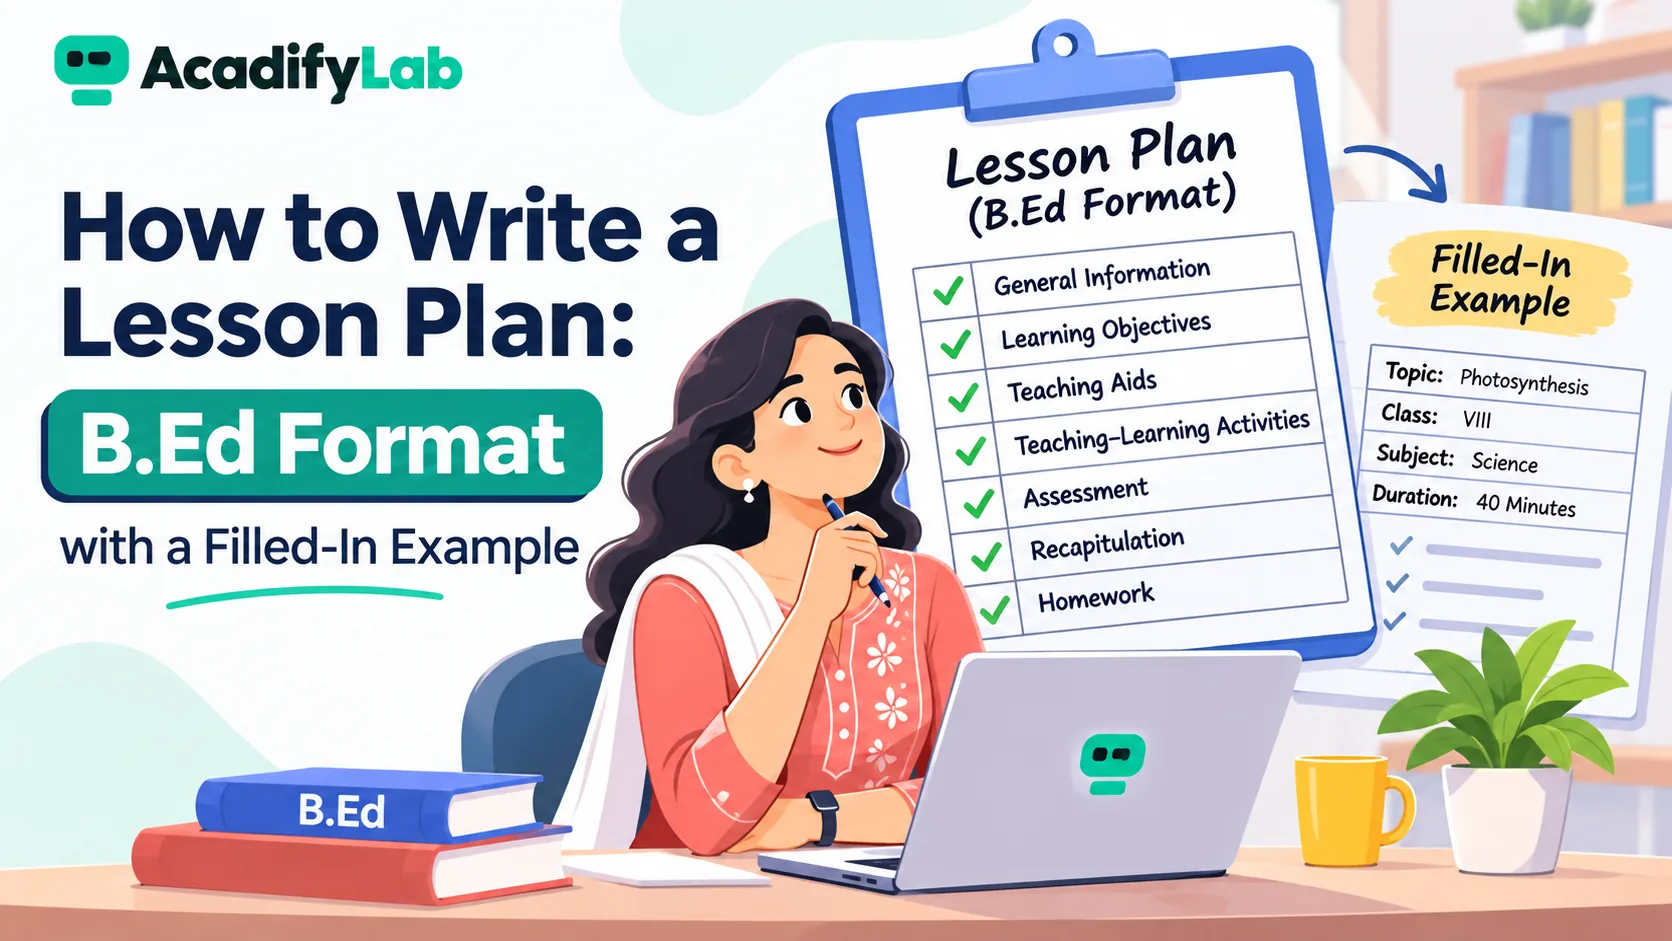
- General information: name of the student teacher, school, class and section, subject, topic, date, period and duration.
- General objectives: the broad aims of teaching the subject, such as developing scientific attitude or interest in reading.
- Specific (instructional) objectives: what students will be able to do by the end of this lesson, usually written under knowledge, understanding, application and skill.
- Teaching aids: chart, model, flash cards, specimen, worksheet or a short video clip.
- Previous knowledge: what students are assumed to know already.
- Introduction (motivation): three to five questions or a short activity that lead to the topic, ending in a “problematic question” students cannot yet answer.
- Announcement of the topic: one line, such as “Today we will study the parts of a flower.”
- Presentation: the main teaching, broken into teaching points, with teacher activity, student activity and blackboard summary.
- Recapitulation: quick questions on what was just taught.
- Evaluation: questions that check each specific objective.
- Home assignment: a short task that extends practice at home.
How to write each section well
Specific objectives
Use action verbs you can observe: define, identify, label, compare, explain, calculate, draw. Avoid “know” and “understand” on their own; you cannot see a student understand, but you can see them explain. Three to five objectives are enough for a 35–40 minute period.
Previous knowledge
Write one or two sentences based on what the class has actually covered. If you are not sure, ask the class teacher. A wrong assumption here is the most common reason a lesson stalls in the first ten minutes.
Introduction
Move from familiar to new. Each question should be answerable except the last one, which creates the need for the lesson. Keep it under five minutes.
Presentation
Split the topic into two to four teaching points. For each one, write what you will say or demonstrate, what students will do (observe, answer, note down, try), and what will appear on the blackboard. Add one or two development questions per point to keep students thinking.
Evaluation and homework
Match one question to each objective. Homework should take 15–20 minutes and practise the lesson, not introduce something new.
Filled-in example: Class 7 Science, Parts of a Flower
Class: VII Subject: Science Topic: Parts of a flower Duration: 40 minutes
General objectives: to develop interest in plant life and the habit of careful observation.
Specific objectives: students will be able to
- name the four main parts of a flower (knowledge);
- identify sepals, petals, stamens and pistil on a real flower (skill);
- explain the role of stamens and pistil in reproduction (understanding);
- draw and label a flower (skill).
Teaching aids: fresh hibiscus flowers (one per group), a labelled chart, a hand lens, chalk and coloured chalk.
Previous knowledge: students know that a plant has roots, stem, leaves, flowers and fruits.
Introduction:
- Name the parts of a plant. (Root, stem, leaf, flower, fruit.)
- Which part gives us fruits? (Flower.)
- Name a flower you see near your home. (Hibiscus, rose, marigold.)
- What parts can you see inside a flower that help it make seeds? (Problematic question.)
Announcement: Today we will study the parts of a flower.
Presentation:
| Teaching point | Teacher activity | Student activity | Blackboard work |
|---|---|---|---|
| 1. Sepals and petals | Shows the outer green leaf-like parts and the coloured parts; asks why petals are bright. | Observe their flower, count sepals and petals, answer “to attract insects”. | Sepals: green, protect the bud. Petals: coloured, attract insects. |
| 2. Stamen | Points to the long structure with yellow powder; explains anther, filament and pollen. | Touch the anther with paper and see pollen through the hand lens. | Stamen = anther + filament. Male part, makes pollen. |
| 3. Pistil | Shows the central part; names stigma, style and ovary. | Locate the stigma; one group cuts the ovary to see ovules. | Pistil = stigma + style + ovary. Female part, has ovules. |
Recapitulation: Which part is the male part? Where are ovules found? Why are petals coloured?
Evaluation:
- Name the four main parts of a flower.
- Point to the stigma on your flower.
- What is the role of pollen?
- Draw a flower and label sepal, petal, stamen and pistil.
Home assignment: Collect any one flower near your home, observe its parts and draw a labelled diagram in your notebook.
How to write a lesson plan for different subjects
The B.Ed headings stay the same across subjects, but what goes inside them changes. Adjust the presentation stage to the way each subject is learned:
- Mathematics: teach through worked examples. Each teaching point should include one example solved on the board, one solved together with the class and one students try alone. Evaluation questions should be problems, not definitions.
- Science: plan a demonstration, specimen or simple experiment for at least one teaching point. Write down the safety precautions and the observation students should record.
- Languages: for prose and poetry, plan model reading by the teacher, loud reading by students, explanation of difficult words and comprehension questions. For grammar, use an inductive approach: examples first, rule second, practice third.
- Social science: use maps, timelines and pictures as teaching aids, and link the topic to students’ own city, state or daily life in the introduction.
Whatever the subject, keep the same test for every section: could another teacher pick up your plan and teach the lesson from it? If yes, it is detailed enough.
Common mistakes in B.Ed lesson plans
- Objectives that cannot be checked. “To make students understand photosynthesis” gives no evidence. Rewrite it as “explain the role of sunlight in photosynthesis”.
- Too much content. Four teaching points in 40 minutes rarely works in a real class. Two or three done well is better.
- A student activity column that just says “listen”. Supervisors look for students doing something in each point.
- Evaluation that does not match objectives. If you planned a drawing objective, ask for a drawing.
- No blackboard plan. Decide where the diagram and key points go before the lesson.
Write plans faster
Once you know the structure, most of the time goes into formatting. Our free lesson plan generator lays out these sections for you to fill in and print, and the lesson plan template gives you a ready format to copy. For assessment planning, see our guide on how to make a question paper, and for keeping a class involved during the presentation stage, try these student engagement strategies.
Frequently asked questions
What are the main steps of a B.Ed lesson plan?
The usual steps are general information, general and specific objectives, teaching aids, previous knowledge, introduction, announcement of the topic, presentation, recapitulation, evaluation and home assignment. Check your university’s prescribed format, as the order and names of headings vary slightly between colleges.
How many objectives should a lesson plan have?
Three to five specific objectives are enough for a single 35–40 minute period. Each should start with an action verb you can observe, such as name, identify, explain or draw, and each should be checked by at least one evaluation question.
What is the difference between general and specific objectives?
General objectives describe the broad aims of teaching a subject over a long period, such as developing scientific attitude. Specific objectives describe what students will be able to do by the end of one lesson, such as labelling the parts of a flower.
What is a problematic question in a lesson plan?
It is the last question in the introduction, which students cannot fully answer yet. It creates curiosity and leads naturally to the announcement of the topic.
How long should a lesson plan be?
For practice teaching, a lesson plan is usually two to four pages, including the presentation table and blackboard summary. In regular teaching, a one-page plan with objectives, activities and evaluation is often enough.
Related articles