
On this page
- Step 1: Define the purpose and scope of the paper
- Step 2: Write clear learning objectives for each unit
- Step 3: Build the question paper blueprint
- Step 4: Write the questions
- Step 5: Prepare the marking scheme alongside
- Step 6: Assemble the paper in the right format
- Step 7: Moderate and review before release
- Paper-based or online: what changes
- Common mistakes when making a question paper
- Save time with a question paper generator
- Frequently asked questions
To make a good question paper, start with what you want to measure, not with the questions. Write down the learning objectives, turn them into a blueprint that fixes marks by unit, question type and difficulty, write questions to fill each cell of that blueprint, prepare the marking scheme alongside, and have a colleague review the paper before it is printed or published.
That order matters. Teachers who start by collecting questions they like usually end up with a paper that over-tests one chapter, under-tests another and leans too heavily on recall. This guide walks through the full process that schools, coaching institutes and trainers can use for unit tests, mock exams and final assessments.
Key takeaways
- A question paper is a measuring instrument. Decide what it should measure before you write a single question.
- A blueprint (also called a design or specification table) fixes weightage by unit, question type and difficulty, so the paper stays balanced.
- Write the marking scheme at the same time as the questions. It exposes vague questions early.
- Mix recall, understanding and application questions. Bloom’s taxonomy is a simple way to check the mix.
- Always moderate: a second teacher should solve the paper against the clock before students see it.
Step 1: Define the purpose and scope of the paper
Every question paper answers a specific question about learners. A weekly unit test asks “have students understood this week’s topic?” A full-length mock test asks “how would students perform in the real exam today?” A diagnostic test asks “where are the gaps before we start?” Each purpose leads to a different paper.
Before writing anything, fix these five details:
- Purpose: unit test, monthly test, mock exam, diagnostic, entrance or final assessment.
- Syllabus covered: the exact chapters or units, and anything explicitly excluded.
- Total marks and duration: for example, 80 marks in 3 hours, or 25 marks in 40 minutes.
- Exam pattern: if you are preparing students for a board or competitive exam, mirror its sections, question types and negative marking rules.
- Mode: printed paper, online test or both. Online tests change what is practical, such as auto-graded multiple-choice questions and randomised question order.
Writing these down takes five minutes and prevents the most common problem: a paper that does not match what was taught or what the final exam will look like.
Step 2: Write clear learning objectives for each unit
A learning objective describes what a student should be able to do, using a verb you can observe. “Understand photosynthesis” is too vague to test. “Explain the role of chlorophyll in photosynthesis” and “Calculate the rate of photosynthesis from a given data table” are testable.
For each unit in scope, list three to six objectives. These become the raw material for your questions. If a question does not map to an objective, it probably does not belong in the paper.
Use Bloom’s taxonomy to balance thinking levels
Bloom’s taxonomy groups thinking skills into levels: remember, understand, apply, analyse, evaluate and create. You do not need all six in every paper, but a good paper usually includes at least three. A practical split for most school and coaching tests is:
- Remember and understand: definitions, facts, explaining a concept in your own words.
- Apply: solving a numerical problem, using a formula, applying a rule to a new example.
- Analyse and evaluate: interpreting data, comparing two approaches, finding the error in a solution, case-based questions.
Competitive-exam papers lean heavily on application and analysis. Early unit tests can carry more recall. Decide the split deliberately, then record it in the blueprint.
Step 3: Build the question paper blueprint
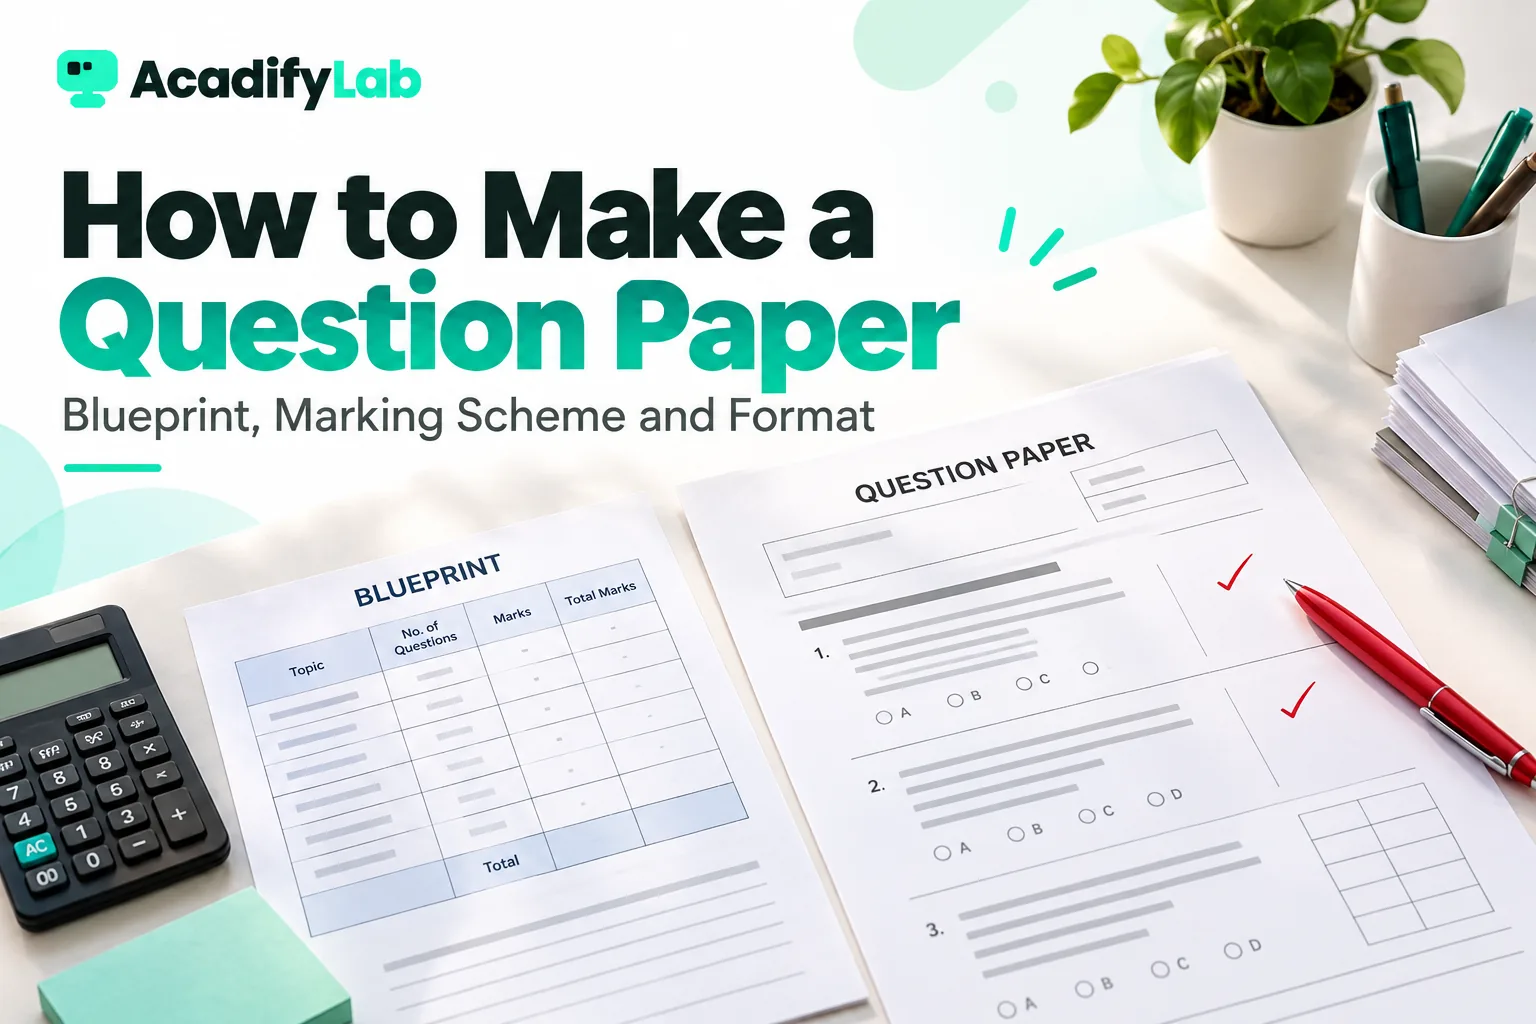
The blueprint is the heart of the process. It is a table that shows, before any question exists, how many marks each unit carries and how those marks are spread across question types and difficulty levels. Many education boards publish blueprints or weightage tables for their exams, which is a good reference if you prepare students for those exams.
Start by allocating marks to units. A simple rule is to weight units by teaching time or by their weight in the target exam. Then spread each unit’s marks across question types.
Here is a sample blueprint for an 80-mark science test covering four units:
| Unit | MCQ (1 mark) | Short answer (2 marks) | Short answer (3 marks) | Long answer (5 marks) | Case-based (4 marks) | Total marks |
|---|---|---|---|---|---|---|
| Unit 1: Chemical reactions | 4 (4) | 2 (4) | 2 (6) | 1 (5) | – | 19 |
| Unit 2: Life processes | 5 (5) | 2 (4) | 2 (6) | 1 (5) | 1 (4) | 24 |
| Unit 3: Electricity | 4 (4) | 2 (4) | 1 (3) | 1 (5) | 1 (4) | 20 |
| Unit 4: Light | 3 (3) | 1 (2) | 1 (3) | 1 (5) | 1 (4) | 17 |
| Total | 16 (16) | 7 (14) | 6 (18) | 4 (20) | 3 (12) | 80 |
The number outside the brackets is the number of questions, and the number inside is the marks. Notice that every row and column adds up. If they don’t, the blueprint will catch it before a student does.
Add a difficulty split
Next, decide the difficulty mix. A common starting point is roughly 30% easy, 50% moderate and 20% difficult questions, adjusted for the purpose of the test. A diagnostic test can be easier. A final mock for a competitive exam should feel at least as demanding as the real thing.
You can add difficulty as a second table, or simply tag each planned question in the blueprint as E, M or D. The point is to decide in advance, so you don’t discover after printing that the hard questions all landed in one unit.
Decide on choice and sections
Internal choice (for example, “answer either 14(a) or 14(b)”) reduces stress and lets students show their strengths, but every pair of choices must test the same objective at the same difficulty. Sections help students manage time and help you report results by area. Note both decisions in the blueprint.
Step 4: Write the questions
With the blueprint ready, write one question for every cell. Treat each question as a small piece of design work.
Rules for good multiple-choice questions
- Put the full problem in the stem, so a student could answer it without looking at the options.
- Write one clearly correct answer and three plausible distractors based on real student mistakes.
- Keep options similar in length and grammar. A noticeably longer option is often guessed correctly.
- Avoid “all of the above” and “none of the above” unless you have a strong reason.
- Avoid negatives in the stem. If you must use one, highlight it: “Which of the following is not…”
Rules for short and long answer questions
- Use a precise command word: state, explain, compare, calculate, justify, derive. “Write about” invites rambling.
- Match the expected length to the marks. A 2-mark question should need two distinct points, not a page.
- For numericals, give all data with units and state the required precision.
- Break long questions into parts (a), (b), (c) with marks shown for each part.
Case-based and data-based questions
Case-based questions present a short passage, table, diagram or scenario followed by three or four linked questions. They test application and analysis well, and many boards and competitive exams now use them. Keep the case short, make sure each sub-question can be answered from the case plus syllabus knowledge, and avoid making later parts depend on getting the first part right.
Language and fairness checks
Write in simple, unambiguous language. Students should be tested on the subject, not on decoding the question. Avoid culturally narrow examples, trick wording and names or contexts that might distract. If the paper is bilingual, have the translation checked by someone who teaches the subject in that language.
Step 5: Prepare the marking scheme alongside
The marking scheme (or answer key with step marking) should be written at the same time as the questions, not after the test. Writing the model answer often reveals a question that has two correct answers, needs data you forgot to give or takes far longer than its marks justify.
A good marking scheme includes:
- The correct option for every multiple-choice question.
- Value points for descriptive answers: the specific ideas that earn each mark.
- Step marks for numericals: for example, 1 mark for the correct formula, 1 for substitution and 1 for the final answer with units.
- Acceptable alternatives: other valid methods, wording or diagrams that should also earn credit.
- Common errors and how they should be treated, such as a wrong unit or an arithmetic slip carried forward.
- Negative marking rules if the test mirrors an exam that uses them.
When several teachers evaluate the same test, a shared marking scheme is what keeps scores consistent from one evaluator to another.
Step 6: Assemble the paper in the right format
Presentation affects performance. A cramped, confusing paper costs students time and marks that have nothing to do with their knowledge. A standard question paper format includes:
- Header: institute name, test name, class or batch, subject, date, duration and maximum marks.
- General instructions: number of sections, internal choices, whether calculators are allowed, negative marking and how to fill the answer sheet.
- Sections in a logical order, usually from objective questions to long answers.
- Marks shown against every question and every sub-part.
- Diagrams labelled clearly and placed next to the question that uses them.
- A clear end marker, so students know there are no more pages.
If you need a starting layout, our question paper format template includes a ready-made header, instructions block and section structure you can adapt.
Step 7: Moderate and review before release
Moderation is the step most often skipped and the one that saves the most embarrassment. Ask a second teacher to do three things:
- Solve the paper under timed conditions. If a subject expert needs most of the time allowed, students will not finish.
- Check it against the blueprint. Do the units, question types and difficulty levels match the plan?
- Check the marking scheme. Are there questions with more than one defensible answer, or answers the scheme does not cover?
Then run a final proofreading pass for numbering, marks totals, spelling, missing data and page breaks.
Final question paper checklist
- Every question maps to a learning objective in the syllabus.
- Marks add up to the stated total, section by section.
- The difficulty mix matches the blueprint.
- There are no duplicate or overlapping questions.
- Instructions are complete and consistent with the paper.
- The marking scheme covers every question and acceptable alternative.
- The paper has been solved by someone other than the setter.
Paper-based or online: what changes
The method above works for both, but online tests change a few decisions:
- Auto-grading: objective questions can be marked instantly, which frees teacher time for descriptive answers and feedback.
- Question banks: tagging questions by unit, objective and difficulty lets you build new papers from the same blueprint quickly, and reuse good questions across batches.
- Shuffling: randomised question and option order makes copying harder in large batches.
- Analytics: item-level reports show which questions most students got wrong, which helps you spot both teaching gaps and badly written questions.
For printed tests with objective sections, an OMR answer sheet speeds up checking considerably. You can create one with our free OMR sheet maker.
Common mistakes when making a question paper
- Testing what is easy to ask, not what matters. Recall questions are quick to write, so papers drift towards them.
- Over-weighting the last chapter taught. It is fresh in the setter’s mind, but rarely the most important.
- Unclear command words. “Discuss” means different things to different students.
- Mismatched marks and effort. A 1-mark question that needs a full derivation frustrates everyone.
- No time check. Papers that cannot be finished measure speed, not understanding.
- Reusing last year’s paper unchanged. Students share papers, so recycled questions measure memory of the old paper.
Save time with a question paper generator
Once you have a blueprint you trust, the repetitive parts of the job, such as formatting, numbering and total checks, are good candidates for automation. Our free question paper generator lets you enter questions by section and outputs a cleanly formatted paper you can print or save as a PDF.
For coaching institutes running frequent tests across batches, an online exam platform goes further: question banks, scheduled tests, auto-graded objective sections and results that feed straight into student progress records. We cover the full mock test cycle in our guide to running online mock tests for a coaching institute.
Frequently asked questions
What is a blueprint of a question paper?
A blueprint is a planning table that shows how marks are distributed across units, question types and difficulty levels before any question is written. It ensures the paper covers the syllabus in the right proportions, matches the exam pattern and does not accidentally over-test one topic or one thinking level at the expense of others.
How do you make a marking scheme for a question paper?
Write a model answer for each question as you set it, then break it into value points that each earn a mark. Add step marks for numericals, list acceptable alternative answers and methods, and note how to treat common errors. Share the scheme with every evaluator so scoring stays consistent across teachers.
How many questions should a question paper have?
It depends on total marks, duration and exam pattern. Work backwards from time: estimate how long an average student needs for each question type, add them up and leave around ten minutes for reading and revision. If a subject expert cannot finish comfortably within about two-thirds of the time allowed, reduce the paper.
What is the ideal difficulty level for a question paper?
A common starting split is about 30% easy, 50% moderate and 20% difficult questions, then adjusted for purpose. Diagnostic and early unit tests can be easier to build confidence. Mock tests for competitive exams should match or slightly exceed the real exam, so students are not surprised on the day.
How can teachers make question papers faster?
Reuse a fixed blueprint for each test type, keep a tagged question bank organised by unit, objective and difficulty, and use a template or question paper generator for formatting. Writing the marking scheme alongside the questions also saves time later, because it catches flawed questions before moderation rather than after evaluation.
Related articles